
How To
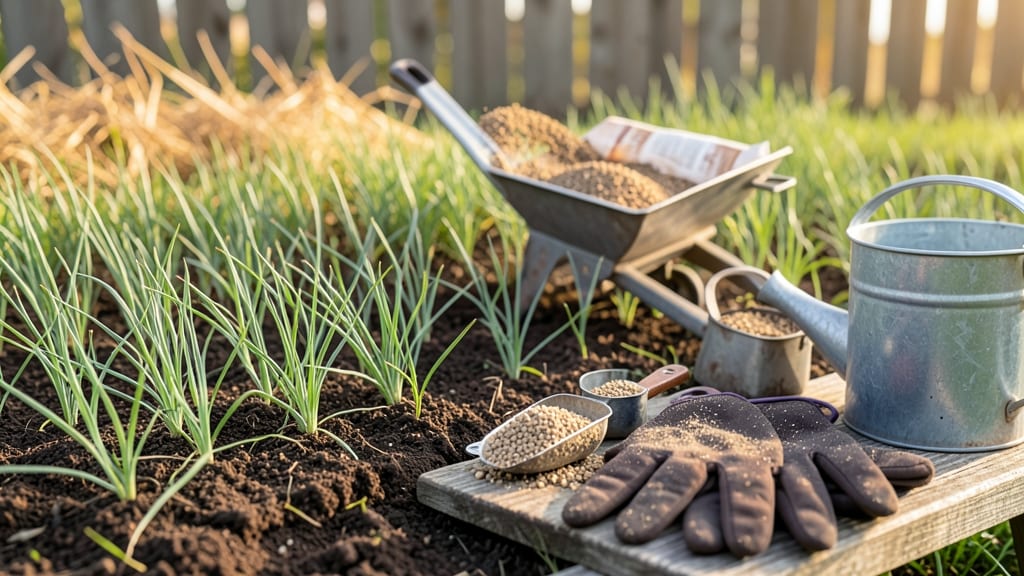
Fertilizing grass seedlings at the right time is the secret to a thick, healthy lawn—wait too long or apply too early, and you’ll end up with weak roots and patchy growth.
New grass seedlings 🌱 need the right nutrients at the right time—or they’ll struggle to establish strong roots and vibrant growth. Timing your fertilizer application correctly can mean the difference between a lush lawn and patchy disappointment.
Most gardeners make the mistake of fertilizing right after planting, but young seedlings don’t need heavy feeding yet. Instead, focus on the three critical growth stages—when to use starter fertilizer, how to boost nitrogen safely, and when to switch to organic options.
Below, I break down the exact timing for your climate, the best fertilizer types for seedlings, and how to avoid overdoing it—so you can skip the guesswork and get a lawn you’ll be proud of.
3 Critical growth stages to fertilize grass seedlings (with exact timing)
Timing your fertilizer applications for grass seedlings is just as important as choosing the right product. Too early, and you risk burning delicate roots; too late, and your lawn’s growth will suffer.
The key lies in understanding the three critical stages of grass seedling development—each with its own nutrient needs and optimal timing for fertilization.
Most gardeners make the mistake of fertilizing immediately after planting, but young seedlings don’t need extra nutrients until they’ve sprouted and started developing roots. The first 30 days are all about establishing a strong foundation, not feeding.
Let’s break down the science-backed stages and when to apply fertilizer for maximum results.
The first stage, seedling emergence, occurs when your grass sprouts break through the soil—typically 7-14 days after planting. This is when you should apply your first fertilizer, but only if the seedlings are at least 1-2 inches tall.
Use a starter fertilizer with high phosphorus (like 10-20-10) to encourage root growth. Apply it lightly, just enough to coat the soil surface, and water it in immediately to prevent burning.
Many gardeners skip this step, thinking seedlings don’t need nutrients yet—but this is where you set the foundation for a thick, healthy lawn.
The phosphorus in starter fertilizers helps the roots grow deep and strong, which is critical for drought resistance later on. Pro tip: Avoid fertilizing before day 7, as the seeds haven’t even sprouted yet, and any nutrients will just wash away.
By the time you reach the tillering phase (around 3-4 weeks), your grass seedlings will have developed multiple shoots and should be about 2-3 inches tall. This is the perfect time for a second fertilizer application, but switch to a balanced fertilizer like 16-4-8.
The higher nitrogen content now supports leaf and shoot growth, while still providing enough phosphorus for root expansion.
Timing is everything here—wait until you see 3-4 shoots per seedling before applying fertilizer.
If you fertilize too early in this stage, you risk overstimulating top growth while the roots are still weak, leading to floppy, weak grass. Organic options like compost tea or fish emulsion can also work well during this phase, but follow the label rates closely.
The final stage, root development, kicks in around 60-75 days after planting, when your grass is 3-4 inches tall and has deep, established roots. This is when you can introduce a slow-release nitrogen fertilizer (like 24-0-4) to promote steady growth without the risk of burning.
Think of this as the maintenance phase, where you’re supporting the grass’s ability to outcompete weeds and fill in gaps.
At this stage, you can also consider organic options like bone meal (for phosphorus) or blood meal (for nitrogen), but they require more frequent applications. The key is to avoid heavy fertilization—your goal is to encourage root depth, not rapid top growth.
Over-fertilizing now can lead to thatch buildup and fungal issues down the road.
One of the biggest mistakes I see is fertilizing too late in the season. If you’re planting in early fall, avoid fertilizing after mid-September in most climates, as new growth won’t have time to harden off before winter.
Similarly, if you’re planting in late spring, hold off on heavy feeding after July to prevent stress before dormancy.
Remember, the goal during these early stages is root strength, not immediate green-up. Patience pays off—grass with deep roots will recover faster from drought, resist disease better, and outperform lawns that were fertilized too early or too heavily.
Stick to this three-stage approach, and you’ll be well on your way to a lush, resilient lawn in just a few months.
Best fertilizer types for grass seedlings (and when to switch)
Choosing the right fertilizer for grass seedlings is like picking the perfect foundation for a house—get it wrong, and everything else crumbles. Too much nitrogen too soon can scorch delicate roots, while skipping phosphorus delays root development. The key is balancing starter fertilizers with slow-release options during critical growth stages.
For the first 30 days, focus on phosphorus-rich fertilizers (like 10-20-10 blends) to encourage root growth. After 6 weeks, switch to nitrogen-heavy feeds (e.g., 24-0-5) to promote leafy top growth. Organic options like composted manure or fish emulsion work well but require more frequent applications.
Starter Fertilizers (First 30 Days)
- High phosphorus for root growth
- Quick nutrient release
- Prevents seedling disease
- Can burn roots if overapplied
- Short-term nutrient boost
- Requires frequent reapplication
Slow-Release Fertilizers (After 6 Weeks)
- Balanced NPK ratio (e.g., 16-4-8)
- Long-lasting nutrients
- Reduces burn risk
- Slower initial results
- Higher upfront cost
- Less control over nutrient timing
Organic fertilizers like alfalfa meal or bone meal are excellent for seedlings because they improve soil structure while feeding roots. However, they take longer to break down, so combine them with a quick-acting starter fertilizer for best results.
Avoid synthetic fertilizers high in salt (like urea) during the first month—they can dehydrate young plants.
One common mistake is applying too much nitrogen early. This causes rapid leaf growth at the expense of roots, making seedlings vulnerable to drought and disease. Instead, wait until your grass has 3-4 inches of established roots before shifting to nitrogen-focused feeds.
Test your soil first—most lawns need 0.5-1 lb of nitrogen per 1,000 sq ft annually once established.
For cool-season grasses (like fescue or ryegrass), fertilize in early spring and fall. Warm-season grasses (like Bermuda or Zoysia) thrive with late spring and summer feedings. Always water thoroughly after fertilizing to help nutrients absorb into the soil and prevent surface buildup.
Remember: Less is more with seedlings. A light hand now prevents costly mistakes later. Start with half the recommended dose and monitor your grass’s response. If you see dark green leaves and vigorous growth within 2 weeks, you’re on the right track.
If leaves yellow or crisp at the edges, flush the soil with water and reduce future applications by 25%.