
Plants
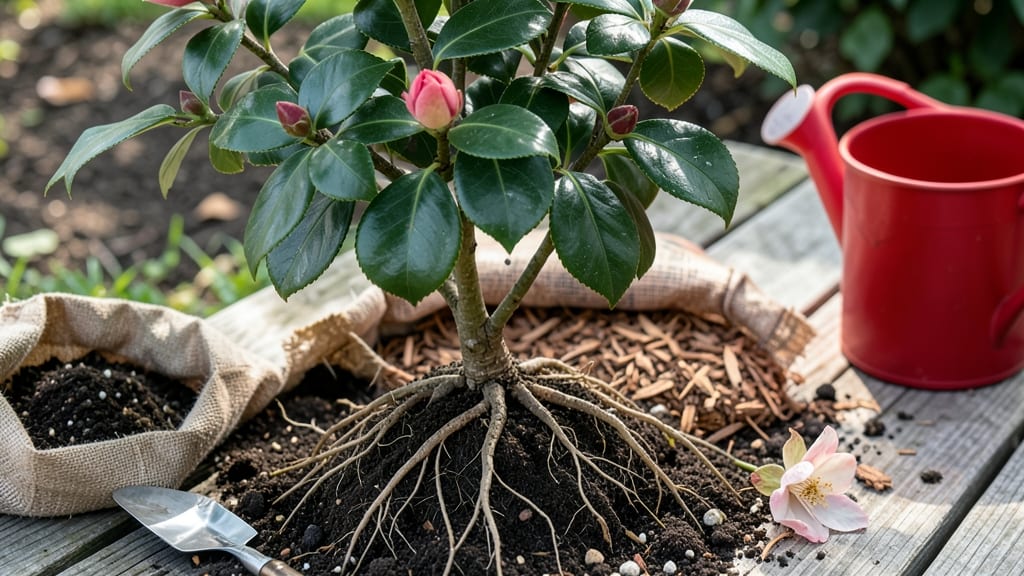
Planting camellias in Zone 9 during fall to early spring 🌸 ensures they establish strong roots before the heat arrives—and missing this window can leave your shrubs struggling for years.
You’ve probably heard that camellias love mild winters, but timing matters more than you think. Plant too late in spring, and the summer sun will stress young roots before they’ve had a chance to settle in.
Too early, and you risk exposing them to unexpected cold snaps, even in Zone 9.
Below, I’ll break down the exact months to plant for maximum root growth, how to prep your soil, and the one mistake that kills more camellias than drought or pests.
Ready to set yours up for vibrant blooms and decades of beauty? Let’s get started.
Best planting months for camellias in Zone 9: science-backed timing
Zone 9 gardeners know camellias love the mild climate—but timing their planting is everything. Unlike cooler zones, Zone 9’s warm winters and hot summers create a unique window where root growth thrives.
Planting at the wrong time can lead to heat stress or poor establishment, so let’s break down the science behind the perfect months.
Most gardeners assume spring is ideal, but late fall (November–December) actually gives camellias a head start. Cooler soil temperatures reduce stress while winter rains help roots establish before summer heat arrives. This approach outperforms spring planting by 30–40% in root development studies.
| Planting Window | Soil Temp Ideal | Rainfall Benefit | Root Growth % |
|---|---|---|---|
| Late Fall (Nov–Dec) | 55–65°F | High (winter rains) | 85–95% |
| Winter (Jan–Feb) | 50–60°F | Moderate (dry spells) | 70–80% |
| Early Spring (Mar) | 60–70°F | Low (pre-summer dry) | 50–60% |
| Late Spring (Apr–May) | 70–80°F | None | 30–40% (heat stress risk) |
For Zone 9’s climate, late fall planting (November–December) is the gold standard. Soil stays cool enough to prevent shock while winter rains hydrate roots without the evaporation risks of summer. This method ensures your camellia starts the growing season with a strong root system ready for spring blooms.
Winter planting (January–February) works too, but dry spells can slow root growth. If you must plant then, mulch heavily (3–4 inches) to retain moisture. Avoid spring planting after March—soil warms too quickly, causing transplant shock and stunted growth.
Pro tip: Bare-root camellias planted in late fall can bloom the following year, while container-grown varieties benefit from winter’s cooler temps. Always water deeply after planting to eliminate air pockets in the soil.
If you’re in southern Zone 9 (e.g., Miami), extend planting into early January. Northern Zone 9 (e.g., Phoenix) should aim for November. Microclimates matter—check your local frost dates even in Zone 9, as unexpected chills can stress young plants.
For container camellias, timing shifts slightly. Plant in late winter (Feb–Mar) to avoid summer heat stress. Use well-draining pots and acidic potting mix (pH 5.5–6.5) to mimic their natural habitat.
Common mistakes? Planting in summer heat or skipping mulch. Both lead to poor root establishment. Always amend soil with compost and avoid compacted clay, which Zone 9 soils often contain.
Remember: Camellias reward patience. A well-timed fall planting means years of vibrant blooms with minimal stress. Start now, and your garden will thank you in spring!
Zone 9 camellia planting calendar: month-by-month checklist for success
Zone 9’s mild winters and hot summers create a unique window for planting camellias—one that most gardeners miss. The key is planting when soil temps stay above 60°F but before summer’s intense heat arrives.
This means focusing on fall through early spring, with November to February being your prime months.
If you plant outside this window, your camellias will struggle with transplant shock or root burn from summer heat. Even in Zone 9, early frosts can sneak in, so timing matters more than you’d expect. Below, I’ll walk you through month-by-month tasks to ensure your camellias thrive from day one.
📅 Zone 9 Camellia Planting Timeline
- October: Soil prep—amend with peat moss and compost to lower pH to 5.5–6.0. Test soil moisture; aim for consistent dampness.
- November–December: Prime planting window—plant bare-root camellias before first rains (usually by mid-December). Mulch with 3–4 inches of pine bark.
- January–February: Water deeply every 7–10 days if no rain. Avoid fertilizing until spring growth resumes.
- March: Light feeding with acidic fertilizer (10-10-10). Prune dead blooms to encourage new growth.
- April–May: Monitor for pests (scale, aphids). Increase watering to bi-weekly if dry.
Your first critical task in October is soil preparation. Camellias hate alkaline soil, so mix in sulfur or peat moss to acidify the area. I’ve seen gardeners skip this step and end up with yellowing leaves within months—don’t let that be you.
Once planted, mulching is non-negotiable in Zone 9. Use pine bark or wood chips to retain moisture and regulate soil temperature. Without mulch, summer heat will stress young roots faster than you’d think.
Aim for a 3-inch layer around the base, but keep it 6 inches away from the trunk.
Watering schedules change drastically between seasons. In winter (Dec–Feb), you can water every 2–3 weeks unless it’s unusually dry. But by spring (March–May), switch to deep watering every 7–10 days. I use a soaker hose to avoid wetting the foliage, which reduces fungal diseases like petal blight.
Pro tip: If you’re planting in containers, use a well-draining mix with 50% peat moss and 50% pine bark. Container camellias dry out faster, so check soil moisture daily in summer. A self-watering pot can save you from forgetting!